



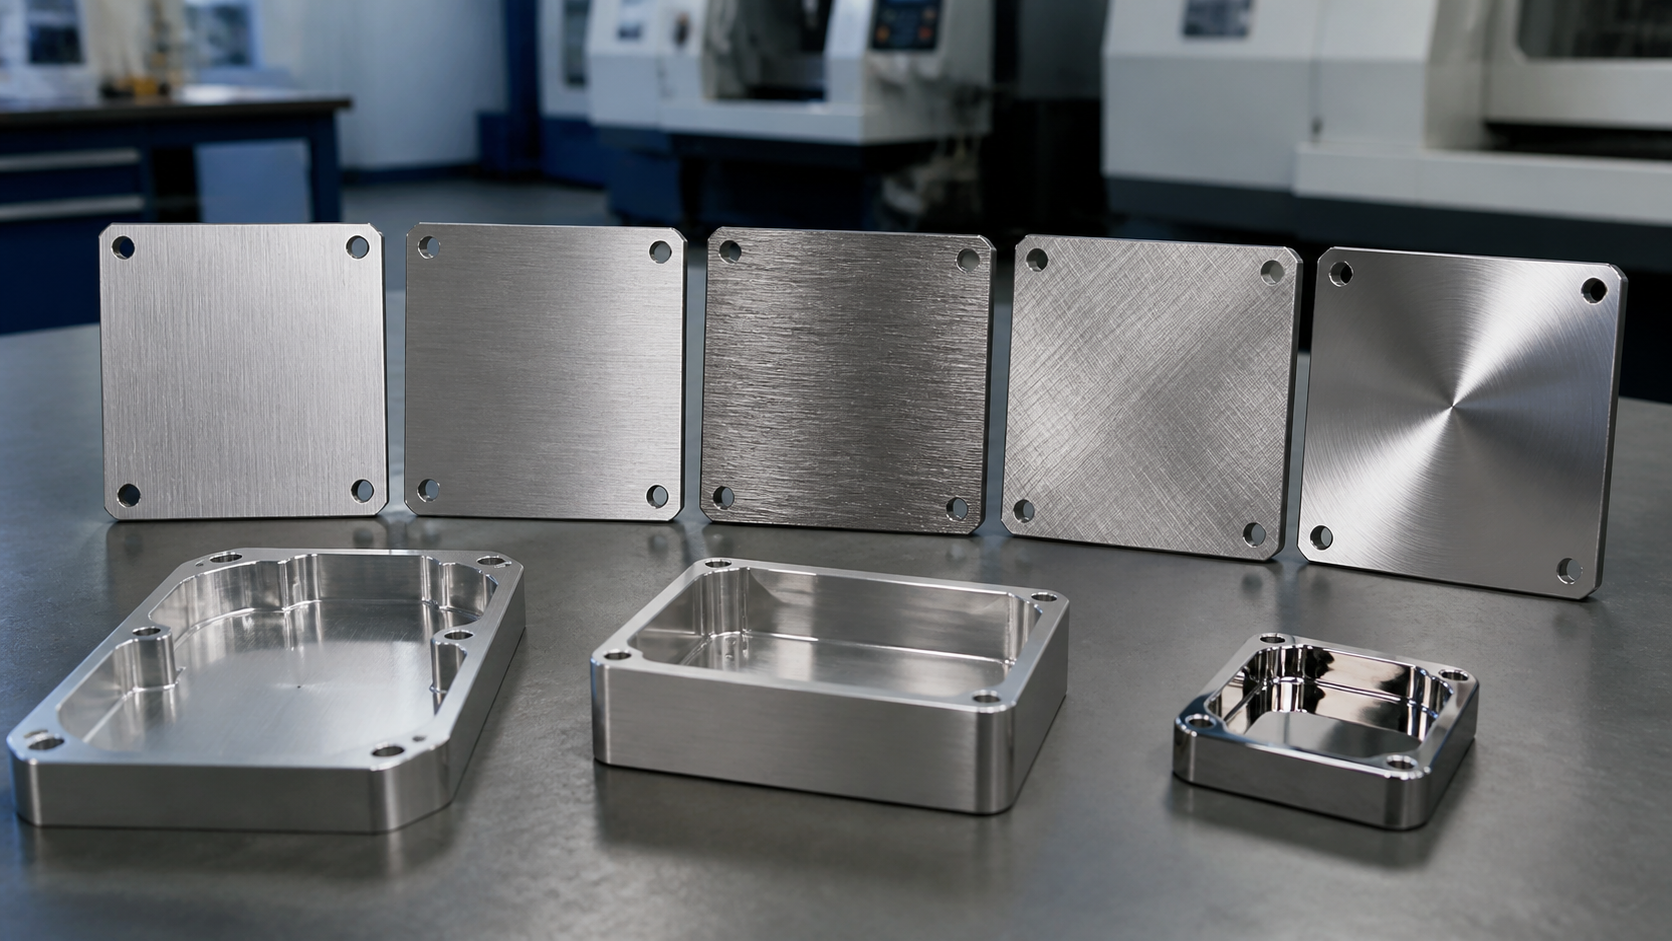
Brushed finish is one of the most cost-effective ways to improve the appearance of CNC-machined metal parts. By using controlled abrasive contact to create fine directional or non-directional grain lines on the metal surface, brushing softens machining marks, reduces glare, and gives components a refined industrial look. It also provides a uniform base for subsequent anodizing, passivation, or anti-fingerprint coating.
This guide covers the fundamentals of brushed finishing — how it works, the available grain types, how it behaves on different metals, what to watch for during design, and how to keep results consistent from prototype through production.
For flat or gently curved cosmetic surfaces, linear hairline brushing is the safest and most predictable option. Brushed aluminum should always be followed by anodizing, while brushed stainless steel can be passivated as needed. Deep cavities, narrow slots, and undercuts are poor candidates for uniform brushing. And when it comes to batch consistency, nothing replaces an approved physical sample.
What Is a Brushed Finish?
Definition and Process
Brushed finish is a mechanical abrasive surface treatment. Abrasive belts, nylon wheels, or rotary brushes contact the workpiece under controlled speed, pressure, and direction, leaving fine grain lines on the metal. Unlike chemical treatments, brushing only changes the surface microstructure through friction — it does not alter the material’s chemical composition.
For CNC-machined parts, brushing typically comes after milling, turning, deburring, and basic cleaning. The goal is to transform visible tool paths and cutter marks into a uniform, controlled brushed metal texture.
Brushing Is Not Polishing
A common mistake is treating brushing and polishing as interchangeable. They are fundamentally different processes:
- Brushing produces a matte grain texture with low reflectivity and visible directional lines.
- Polishing produces a high-gloss, mirror-like surface with almost no texture and strong reflectivity.
- Brushing suits industrial cosmetic parts; polishing is better for decorative or luxury components.
Technical Note
Always specify Brushed or Polished explicitly on drawings and purchase orders. The two processes use different tooling, consumables, and acceptance criteria. Mixing them up leads to rework at production scale.
Surface Roughness Reference
Different brushing styles correspond to different roughness ranges. The values below are typical industry references — actual results vary with material, abrasive grit, and process parameters.
Brushing Type | Abrasive Grit | Surface Roughness (Ra) | Visual Character |
Fine hairline | 320# – 600# | 0.4 – 0.8 um | Dense parallel lines, soft matte |
Standard linear | 180# – 320# | 0.8 – 1.6 um | Clear visible grain, strong industrial feel |
Coarse grain | 80# – 180# | 1.6 – 3.2 um | Pronounced texture, bold look |
Random satin | Nylon / non-woven wheel | 0.6 – 1.2 um | Non-directional interwoven grain, soft matte |
Why Use Brushed Finish on CNC-Machined Parts?
The Limitations of As-Machined Surfaces
Parts coming off a CNC machine often carry visible tool paths, fine cutter marks, witness lines at tool changes, and slight color variation between faces. None of this matters for parts hidden inside an assembly. But for visible enclosures, panels, and covers, surface quality directly affects how the product is perceived.
Six Core Benefits
- Softens minor CNC tool marks for a more uniform appearance across machined faces.
- Reduces glare under workshop lighting or direct sunlight.
- Delivers a premium industrial texture without the overly shiny look of mirror polishing.
- Hides light everyday scuffs better — especially when the scuff runs parallel to the grain.
- Creates a consistent pre-treatment surface for anodizing, passivation, or anti-fingerprint coating.
- Reproduces reliably from prototype to production, provided a reference sample is approved.
Brand Identity Value
For branded products and visible industrial hardware, a consistent brushed metal finish can become part of the product’s visual identity. Fine linear brushing reads as clean and technical; random satin brushing feels softer and more upscale. A uniform surface treatment language reinforces a brand’s professional image with end users.
The Brushing Process, Step by Step
A consistent brushed metal finish depends on both the quality of the upstream machining and the control of downstream parameters. Here is the standard process flow.
Seven-Step Process
Step | Operation | Key Control Point |
Milling, turning, drilling, tapping, rough dimension control | Keep cosmetic-face tool marks within the brushable range | |
2 Deburr and clean | Remove sharp burrs, chips, oil, and surface contaminants | Burrs cause skipped grain lines and abnormal abrasive wear |
Correct major defects (deep pits, dents, heavy tool marks) | Brushing cannot fix major defects – handle them upstream | |
4 Brushing | Abrasive belt / wheel / nylon brush; control speed, direction, pressure, grit | Lock the direction, keep pressure even, replace consumables on schedule |
5 Post-brush cleaning | Remove abrasive dust and residue, especially in holes and edges | Residual dust compromises coating adhesion |
6 Protective finishing | Anodize aluminum; passivate or coat stainless steel as needed | Confirm compatibility with the brushed texture |
7 Final inspection | Compare grain, color, and uniformity against the approved sample | Physical comparison only – photos are not acceptance criteria |
Key Process Parameters
Brushing Direction
The brushing direction must be locked in the process documentation. Common directions include horizontal, vertical, radial (for round parts), or a specified angle. If one batch is brushed horizontally and the next vertically, both are technically brushed, but they will not match visually when assembled together.
Abrasive Grit and Consumables
Grit size directly determines grain fineness. Finer grits (higher numbers) produce subtler, smoother lines; coarser grits produce bolder, more visible texture. Nylon abrasive wheels and non-woven wheels are used for random satin effects and leave no directional grain.
Pressure and Speed
Excessive pressure can round over edges, burn the surface, or create uneven grain. Insufficient pressure fails to cover tool marks. Speed affects cutting efficiency and surface temperature, and should be adjusted for material hardness. Stainless steel, being harder, generally runs at lower speeds and consumes abrasives faster.
Process Warning
Sharp edges will be slightly rounded during brushing (typically R0.1-R0.3). If a part has strict sharp-edge or fit requirements, mark those areas as no-brush on the drawing, or leave extra machining stock.
Common Brushed Finish Types and Their Visual Effects
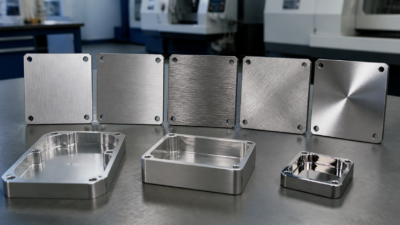
Different brushing styles produce very different visual results. The right choice depends on part geometry, product positioning, cost target, and acceptance standards.
Type | Visual Effect | Process Notes | Typical Use |
Linear hairline | Continuous parallel grain, clean industrial look | Easiest to define, inspect, and keep consistent | Equipment panels, aluminum enclosures, cavity covers, instrument housings |
Random satin | Soft non-directional matte, fine interwoven texture | Nylon / non-woven wheel, no directionality | Consumer-facing decorative panels, cosmetic covers |
Cross brushing | Two-direction grain, layered appearance | Requires two passes in different directions, higher cost | High-end instrument panels, selected decorative surfaces |
Wave brushing | Flowing wavy grain pattern | Requires dedicated fixturing, complex process | Ornamental parts only; not recommended for functional CNC parts |
For most industrial CNC-machined parts, linear hairline brushing is the safest and most common choice. It is easier to specify on a drawing, easier to inspect, and easier to repeat across batches. Cross and wave brushing are more labor-intensive and are usually reserved for high-value decorative surfaces.
Brushed Aluminum vs. Brushed Stainless Steel
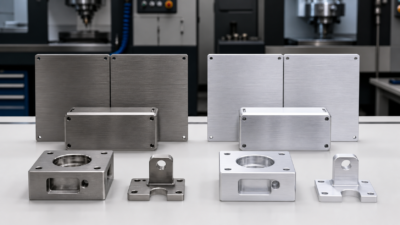
Aluminum and stainless steel respond differently to brushing. The same abrasive parameters can produce different visual results, and the post-treatment requirements are not the same.
Material Comparison
Dimension | Aluminum Alloy | Stainless Steel | Copper (Reference) |
Hardness | Soft (HB 60-150) | Higher (HB 150-300) | Soft (HB 40-80) |
Pressure control | Must be tightly controlled to avoid over-cutting | Can handle higher pressure | Very easy to deform, use minimal pressure |
Consumable wear | Low | High (belts wear faster) | Medium |
Native corrosion resistance | Moderate – needs protection | Excellent (304 / 316) | Poor – oxidizes and darkens quickly |
Post-treatment | Anodizing strongly recommended | Passivation or anti-fingerprint coating (optional) | Anti-oxidation treatment needed |
Color options | Rich after anodizing (black, silver, gold, blue, etc.) | Natural metal tone; coating options available | Natural copper tone, darkens over time |
Fingerprint sensitivity | High (bare aluminum) | Moderate | High |
What to Watch for with Brushed Aluminum
- Bare brushed aluminum oxidizes quickly and shows fingerprints. Exposed parts must be anodized.
- Anodizing slightly shifts the visual contrast of the grain – confirm at the sample stage.
- Coordinate brushing direction with anodizing rack positions to avoid missed areas where rack contacts the part.
- Common alloys like 6061, 6063, and 7075 brush well. Cast aluminum is generally not recommended due to porosity.
What to Watch for with Brushed Stainless Steel
- 304 is the workhorse grade; 316 is used for highly corrosive environments (marine, chemical).
- Stainless steel already has good corrosion resistance after brushing; passivation can improve it further.
- Anti-fingerprint (AF) coating significantly reduces fingerprint retention – useful for frequently touched panels.
- Avoid iron contamination during brushing; use stainless-steel-specific abrasives and tools.
Selection Guide
For communication cavities and equipment enclosures, choose brushed aluminum + anodizing (lightweight, color options). For outdoor equipment, food and medical applications, and visible hardware, choose brushed stainless steel (better corrosion resistance, cooler metallic tone).
Brushed vs. Polished vs. Bead-Blasted
When selecting a surface finish, brushing, polishing, bead blasting, and plain anodizing are the four most commonly compared processes. Each has its sweet spot – picking the wrong one wastes money or misses the appearance target.
Treatment | Appearance | Grain Direction | Reflectivity | Cost | Best For |
Brushed | Matte metallic with visible grain | Directional / satin | Low | Medium | Enclosures, panels, cosmetic cavities |
Mirror polish | High-gloss reflective, mirror-like | None | Very high | High | Decorative parts, luxury items, reflective components |
Bead blasted | Frosted matte, fine granular texture | Non-directional | Low | Low-Medium | Uniform matte coverage to hide machining marks |
Plain anodizing | Colored or natural matte | No brushed grain unless pre-brushed | Low-Medium | Medium | Aluminum functional parts needing corrosion and wear resistance |
Brushed vs. Polished Stainless Steel
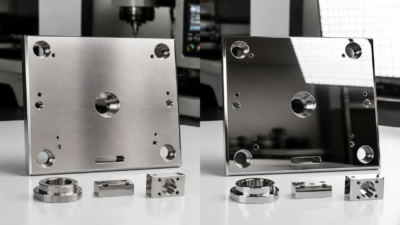
Polished stainless steel is smooth, shiny, and mirror-like – it reflects strongly and shows every fingerprint and scratch. Brushed stainless steel has visible grain lines, lower reflectivity, and a softer industrial look. For industrial panels, machine covers, instrument housings, and visible CNC parts, brushing is usually the more practical choice: it cuts glare and hides light scuffs.
Brushed vs. Bead Blasted
If the goal is a clear metallic grain or controlled directional texture, brushing is the better fit. If the goal is simply to hide machining marks behind a non-directional matte surface, bead blasting is usually more cost-effective. Blasted surfaces have no grain direction and adapt better to complex geometry, but they cannot deliver the precise industrial look that brushing provides.
Design Checklist: 6 Things to Confirm Before Specifying Brushed Finish
To make brushed metal results predictable and reduce production rework, clarify the following six items on drawings and technical documentation.
Define Cosmetic Surfaces
Clearly mark which faces are cosmetic and which are functional. Not every surface needs brushing, and some surfaces should not be brushed if they affect fit, sealing, grounding, or assembly. A good practice is to use different colors or layers in the 3D model to distinguish cosmetic from functional faces.
Specify Brushing Direction
Call out horizontal, vertical, radial, or any other required grain direction. For parts with multiple cosmetic faces, specify direction per face and confirm whether transitions between adjacent faces are acceptable. Tie direction to a datum to avoid ambiguity.
Define Grain Coarseness
Specify fine hairline, standard satin, coarse grain, or a sample-based texture level. Include both the abrasive grit range and the target surface roughness (Ra). Ordering parts with just the word brushed leaves too much room for interpretation between suppliers.
Review Geometry Risks
Evaluate features that are hard to brush uniformly:
- Deep pockets where depth exceeds width – the bottom-to-wall transition is easily missed.
- Narrow slots under 3 mm wide – brushing tools cannot reach inside.
- Undercuts – limited tool access creates discontinuous grain.
- Dense rib areas – rib sidewalls and roots show uneven texture.
- Internal corners tighter than R0.5 – abrasive wheels cannot reach, leaving bright sharp edges.
Confirm Protective Finishing
Confirm whether anodizing, passivation, coating, or anti-fingerprint treatment follows brushing. These treatments affect both durability and the final visual appearance. Always approve the combined brushed + protected finish at the sample stage, not each step separately.
Set Acceptance Criteria with a Physical Sample
Use a physical prototype sample as the production benchmark, defining grain direction, roughness level, color, and acceptable cosmetic range. Photos help with communication but are not sufficient for acceptance – lighting angle dramatically changes how brushed texture appears.
Design Checklist
Cosmetic surfaces marked | Brushing direction specified | Grain coarseness / grit defined | Geometry risks reviewed | Post-treatment confirmed | Physical sample signed off
Typical Applications and Industry Use Cases
Brushed finish is widely used on CNC-machined parts where appearance, touch, and product positioning matter. Below are typical applications by industry.
Communications and RF Equipment
- RF enclosures – brushed aluminum + anodizing balances shielding performance with appearance.
- Filter and combiner housings – linear brushing reinforces a precision industrial look.
- Base station panels – brushed stainless steel holds up well outdoors.
Industrial Control and Instrumentation
- Industrial control panels, HMI enclosures – low-glare surfaces suit workshop lighting.
- Instrument front panels, oscilloscope housings – linear brushing conveys precision and professionalism.
- Sensor and transmitter housings – brushed stainless steel resists corrosion and is easy to clean.
Medical and Laboratory Equipment
- Medical device enclosures, surgical instrument components – brushed stainless steel is easy to disinfect and chemical-resistant.
- Laboratory instrument panels – matte surfaces minimize visual distraction.
- Dental and aesthetic device housings – anodized brushed aluminum offers rich colors and a premium feel.
Consumer Electronics and Smart Home
- High-end routers, NAS enclosures – aluminum brushing + anodizing elevates perceived quality.
- Smart speakers, smart home panels – satin brushing feels smooth to the touch.
- Laptop and monitor housings – fine hairline brushing is a classic premium design language.
Aerospace and Defense
- Avionics enclosures – brushed aluminum + hard anodizing combines light weight with wear resistance.
- Airborne equipment panels – strict appearance consistency requirements.
- Defense electronics – brushed stainless steel offers low reflectivity and reduced visual signature.
Quality Control: Keeping Brushed Finish Consistent in Mass Production
Consistency matters more than one perfect sample. Grain variation between batches is the most common quality complaint with brushed finishing. Here are the key control factors.
Seven Consistency Factors
Control Factor | Requirement | Failure Mode |
Incoming machining quality | Stable tool-mark depth and flatness on cosmetic faces | Tool marks too deep to cover; surface waviness causes uneven grain |
Fixturing | Consistent datum faces, uniform contact pressure | Same part shows different grain depth in different areas |
Abrasive grit | Specified belt model, scheduled replacement | Grit drift causes grain coarseness to shift |
Brushing direction | Locked in process docs, operator training | Direction mismatch causes visual inconsistency after assembly |
Tool pressure | Pneumatic / hydraulic parameters fixed | Pressure variation changes grain depth and edge rounding |
Cleaning | Standardized process, dust inspection | Residual dust hurts coating adhesion and appearance |
Post-treatment | Anodizing / passivation parameters fixed | Color and gloss drift between batches |
The Physical Sample System
The most practical quality method is to approve a physical golden sample at the prototype stage, and keep first-article and last-article comparisons during production. The sample should define:
- Final grain direction and coarseness level.
- Measured surface roughness (Ra).
- Color and gloss after protective finishing.
- Acceptable cosmetic defect range (e.g., minor texture variation, edge appearance).
- Approval date, version number, and authorized signature.
Quality Warning
Photos and videos cannot replace a physical sample. The visual appearance of brushed grain is highly dependent on lighting angle and intensity – the same surface can look completely different under different light. Acceptance must be based on physical comparison.
Closing Thoughts and Next Steps
Brushed finish can significantly elevate the visual quality of CNC-machined parts, especially for visible aluminum and stainless steel components. It creates a refined matte metal texture, reduces glare, and gives enclosures, panels, covers, and cavities a professional industrial appearance.
That said, brushing is not a universal solution. Material properties, geometry, grain direction, surface defects, and post-treatment all influence the final result. Not every part is suited for uniform brushing, and not every machining mark can be hidden. A successful brushing project requires manufacturability review at the design stage, physical sample approval at the prototype stage, and disciplined process control during production.

Leo Liang, Founder Best Partner with R&D
JADE-CNC’s Founder LEO, who brings over two decades of industry expertise, Leo started his career as an apprentice and practice his skills in surface treatment and CNC machining.